
sewn tag book
inspired by kelly's sewn mini books i wanted to challenge myself to create a mini book that was completely sewn and not glued.. and one morning last week about 3am this idea came to me and i thought i would do a step by step instructions just to remember how i did it and of course to share with you guys.
here is the paper for the main pages i used
cut with rounded corners

when i make this book again.. there are a couple things i would change
the 1st thing i would do differently ~ would be to not fold the pages but to cut them to the finished size but we'll talk more about that later..

this time i folded the pages and this is what the looked like
each page has 2 sheets of paper
cut to
p1. front ~ 5x12
p1. back ~ 5x12
p2. front ~ 9x12
p2. back ~ 9x12
p3. front & back same page ~ 12x12
you could have as many of the ~ 12x12 sizes as you wanted to
i made only 2

all the pages laying down on top of each other
the 1st page you fold as 2" from the left 3" from the right
the 2nd page you fold as 4" from the left and 5" from the right
the next page is folded in half at 6"

this page is 4" on the left and 5" on the right
sew outside of page 1/4" from edge DO NOT sew pages together!


this is (as i mentioned) the part i would change.. (i think)..

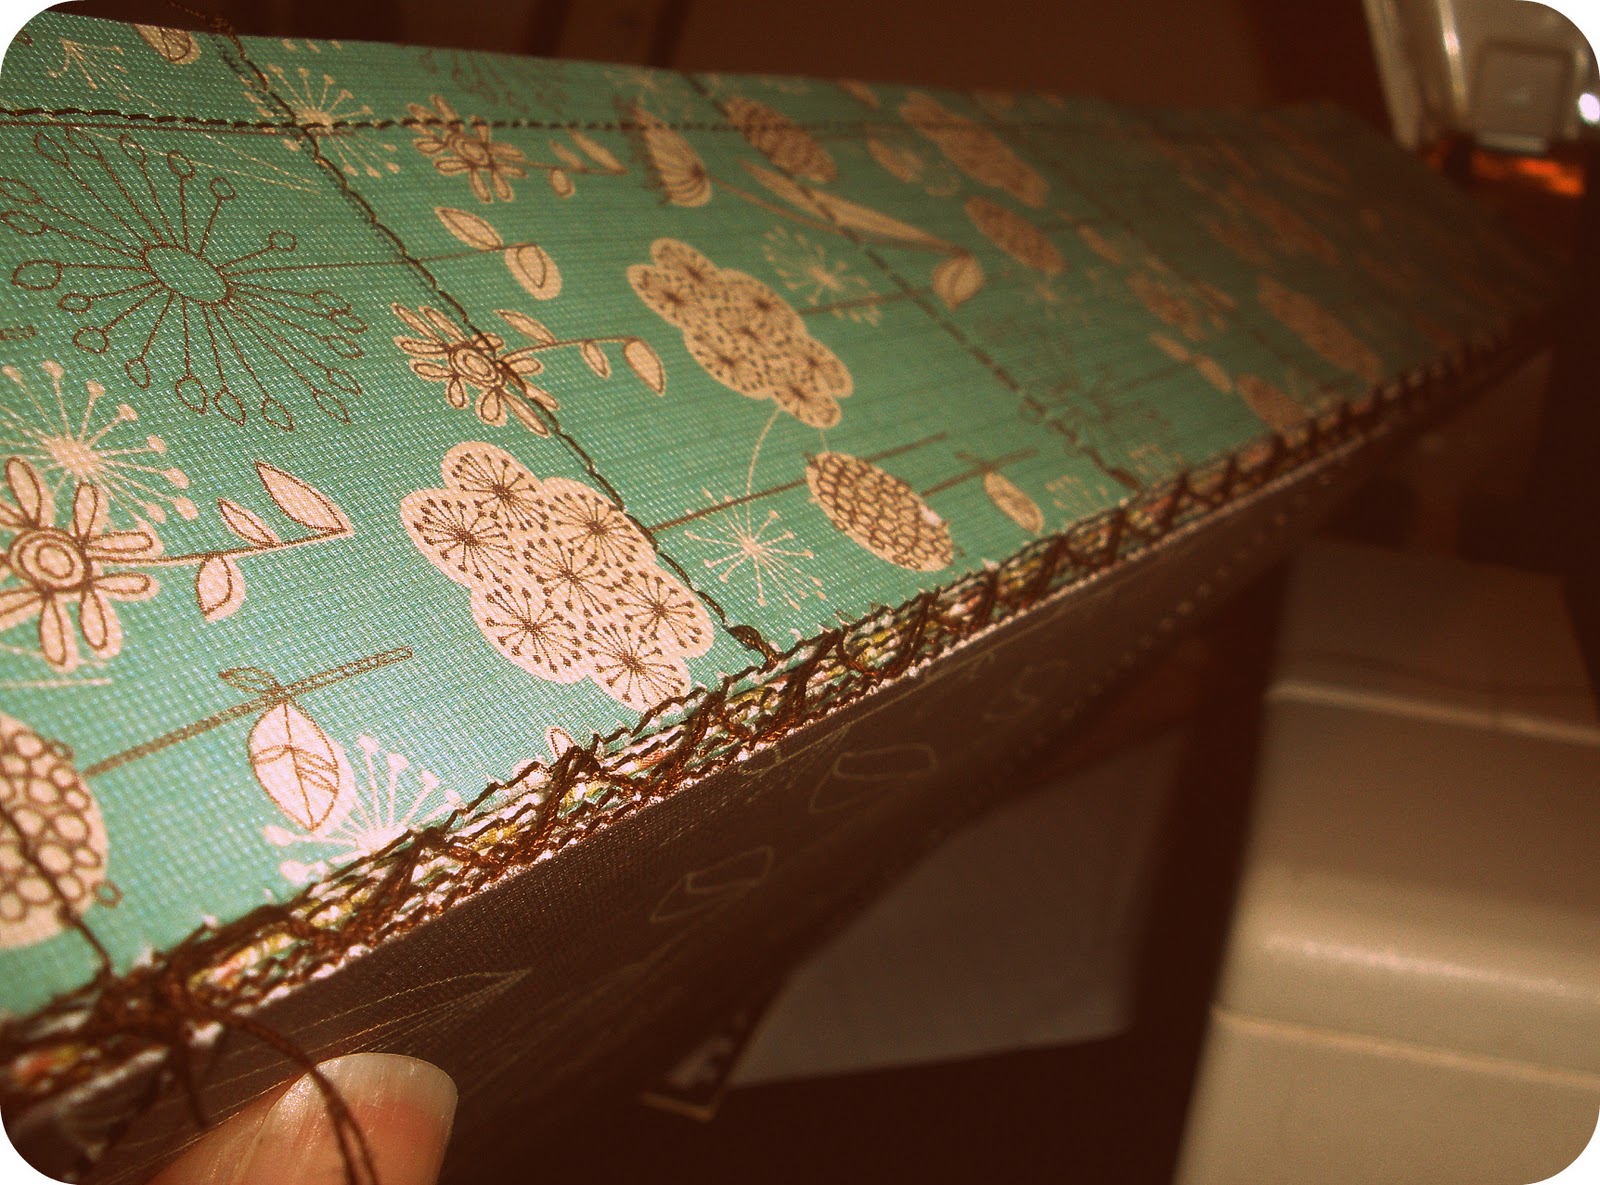
the edges are sewn individually and then sewn together in the middle

one of my favorites! "she's the flashing girl from flushing.. booom boom.. the nanny named fran!"
anyway...


ya following here?

i sewed the binding together


the 1st page of "pockets" are 2"
the 2nd page 3"
the 3rd page 4"
the 4th page 6"


(no glue)

and now i need to figure out what i'm going to do with the book..
i just wanted to create a book that was completely sewn together..
i never thought of what i was going to do with it once it was done!
tell me what you think.. would you try and make something like this?

No comments:
Post a Comment