
ok.. just to be clear.. this is how i made my queen of hearts ATC card.. it is not necessarily how it should be made.. check out the finished queen in yesterday's post

#1 draw head shape on knit fabric & pin

#2 cut out and start to sew..... then realize this knit fabric is never gonna work..
so throw it in your scraps bin and start over... :)

#3.. really its #1.. the real number 1 this time
ok... #1. draw head shape on knit cotton fabric & pin

#2 cut out and sew

#3 iron and set aside

#4 cut hair fibers in 2 differant lenghts

#5 um.. realized i can't sew on hair fibers.. cause i sewed the queen's head together already...
so undo step #2..
are you still following this at all...?

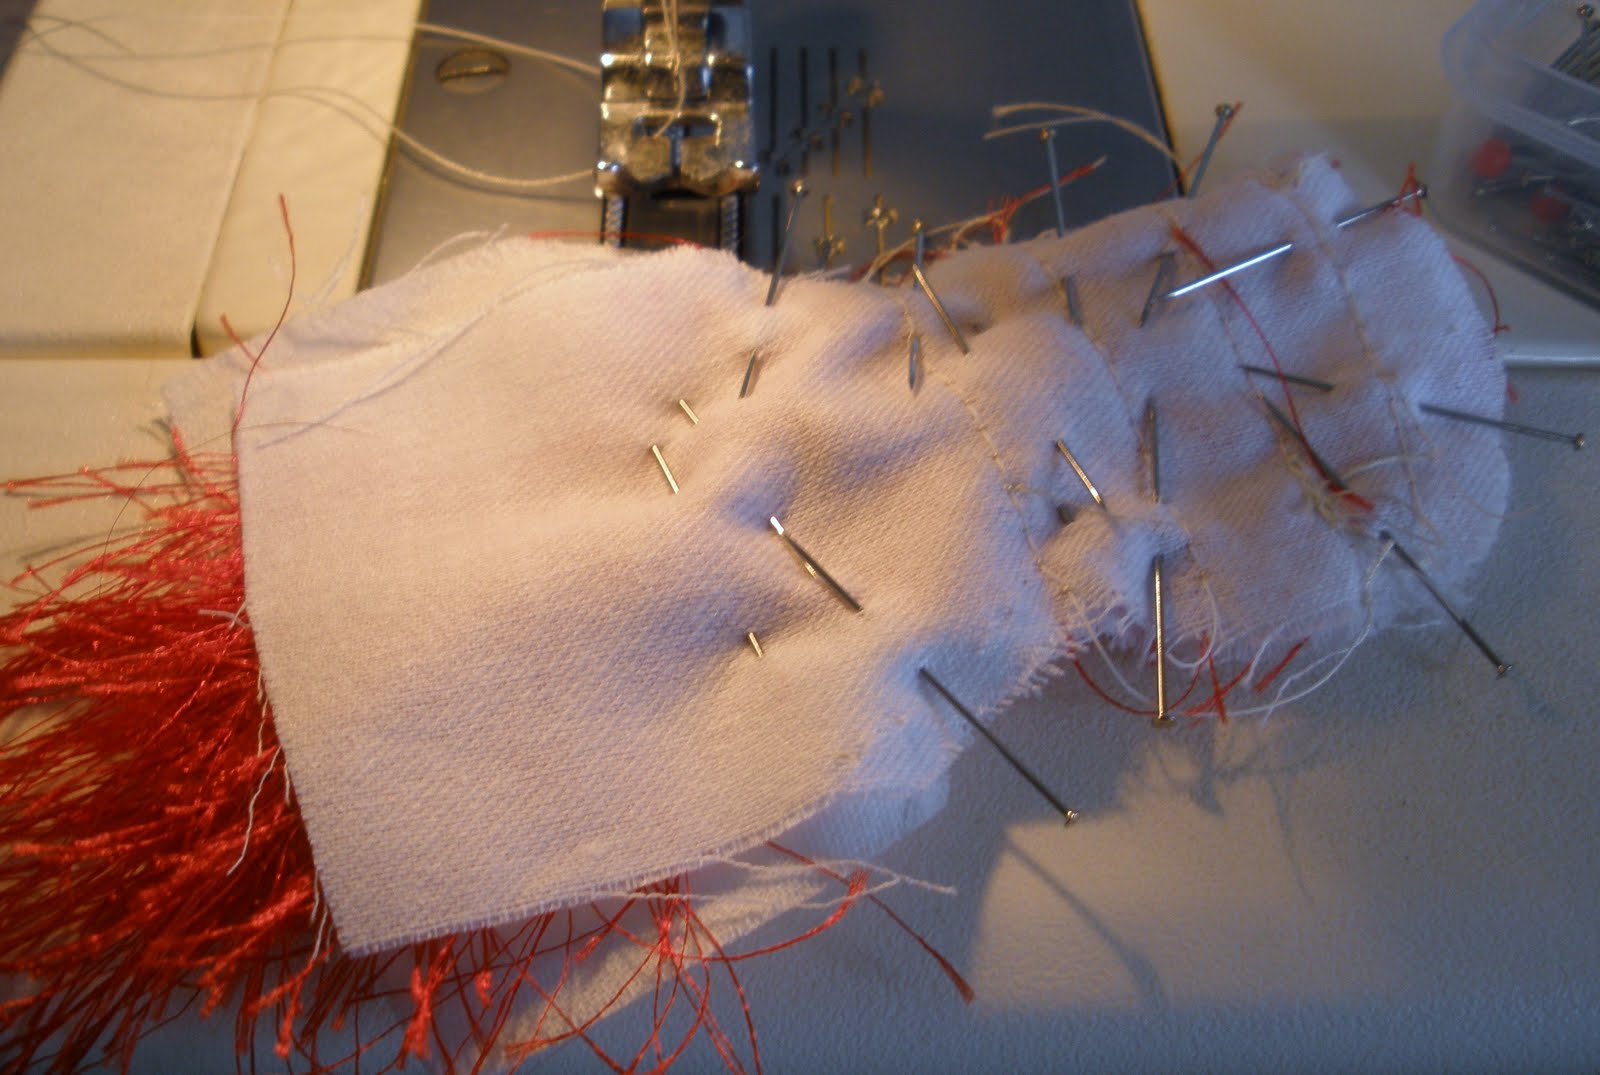
#6 lay down fibers onto back of neck/head

#7 sew down fibers at nap of neck

#8.. get excited.. i think i did something right.. and in the right order!
#9 repeat #7 & 8

#10 add the last layer of hair

#11 this is what it.. looks like so far

#12 pin all hair in down in the middle
#13 pin other side (face side) to hair side (right sides together)
#14 sew toghether.. in the same holes as sewn before

front view

back view

#15 turn right side out

#16 stuff with batting

#17 sew off at neck
#18 set aside

#19 cut out collar

#20 iron pleats

#21 sew pleats down
#22 cut off unsightly threads
#23 set aside

#24 pull out some tulle, cut, pin

#25 sew pleats

#26 sew tulle onto cotton collar
 |
| this is what it looks like so far #27 set aside          #36 set aside to dry.. for quite a while.. i had a snack, took a shower... and had another snack... (i'm sure you wanted to know that!)  the template i used was in a fancy nancy activity sticker book   #39 added rinestones and stickels (stickels not shown.. in this picture)  #41 cut out her face  done and done!! there ya go.. that's how i made my ATC queen of heARTS.. now you know why i didn't post all this in the same post yesterday.. it took my half the day.. just to write up this post! oh! and if you make something similar.. i'd love to see what you do!  |
Wow, Rebekah, this is amazing! Thanks for the inspiration!
ReplyDeleteI´m sorry. I don´t have that kit anymore, but I´m sure you can find everything you need to do it there. It´s just Studio Calico Documentary, Maya Road clear album and mini envelopes, Hambly Rub on and Echo Park Life is Good stickers.
ohhhhhh thank you thank you.. a compliment from you is like a compliment from the queen! love your work!!!
ReplyDeletei'm going to look about and see what if i can still find all those glorious tidbits.. you used in your recent mini.. love!
Ugh, I just left a huge comment and it said service error- I'll try again!!
ReplyDeleteShe is just amazing! I haven't seen anything like this, I love her! I'm so glad you told me about this! And your blog looks great too! I think we share the same taste in a lot of things! xoxO
oh thanks deb!! i've gotten rave reviews for her.. think i'm going to try a couple more 3d projects! i'm finding that i'm a little "better" at creating 3d projects and mini books vs. layouts.. just more fun to be had!
ReplyDeleteyes, i'm redoing my blog to fit my personality a little bit.. brighter and more fun!.. i also want the look to fit the name i choose ~ colorful scrapbooker! cause that's just me!
thanks again for checking her out! now just what to do with her.. :)